Image Effects
SkImage provides a powerful set of image effects that can be applied to images to transform their appearance. These effects can be combined to create complex visual transformations.
Applying Effects
Section titled “Applying Effects”You can apply an effect to an image using the following syntax:
set {_img} to {_img} with effect {_effect}You can also chain multiple effects:
set {_img} to {_img} with effects {_effect1} and {_effect2}Available Effects
Section titled “Available Effects”Blur Effect
Section titled “Blur Effect”Creates a gaussian blur effect that softens the image.
set {_effect} to blur effect with radius 5set {_img} to {_img} with effect {_effect}The radius parameter determines how strong the blur is. Higher values create a more pronounced blur effect.

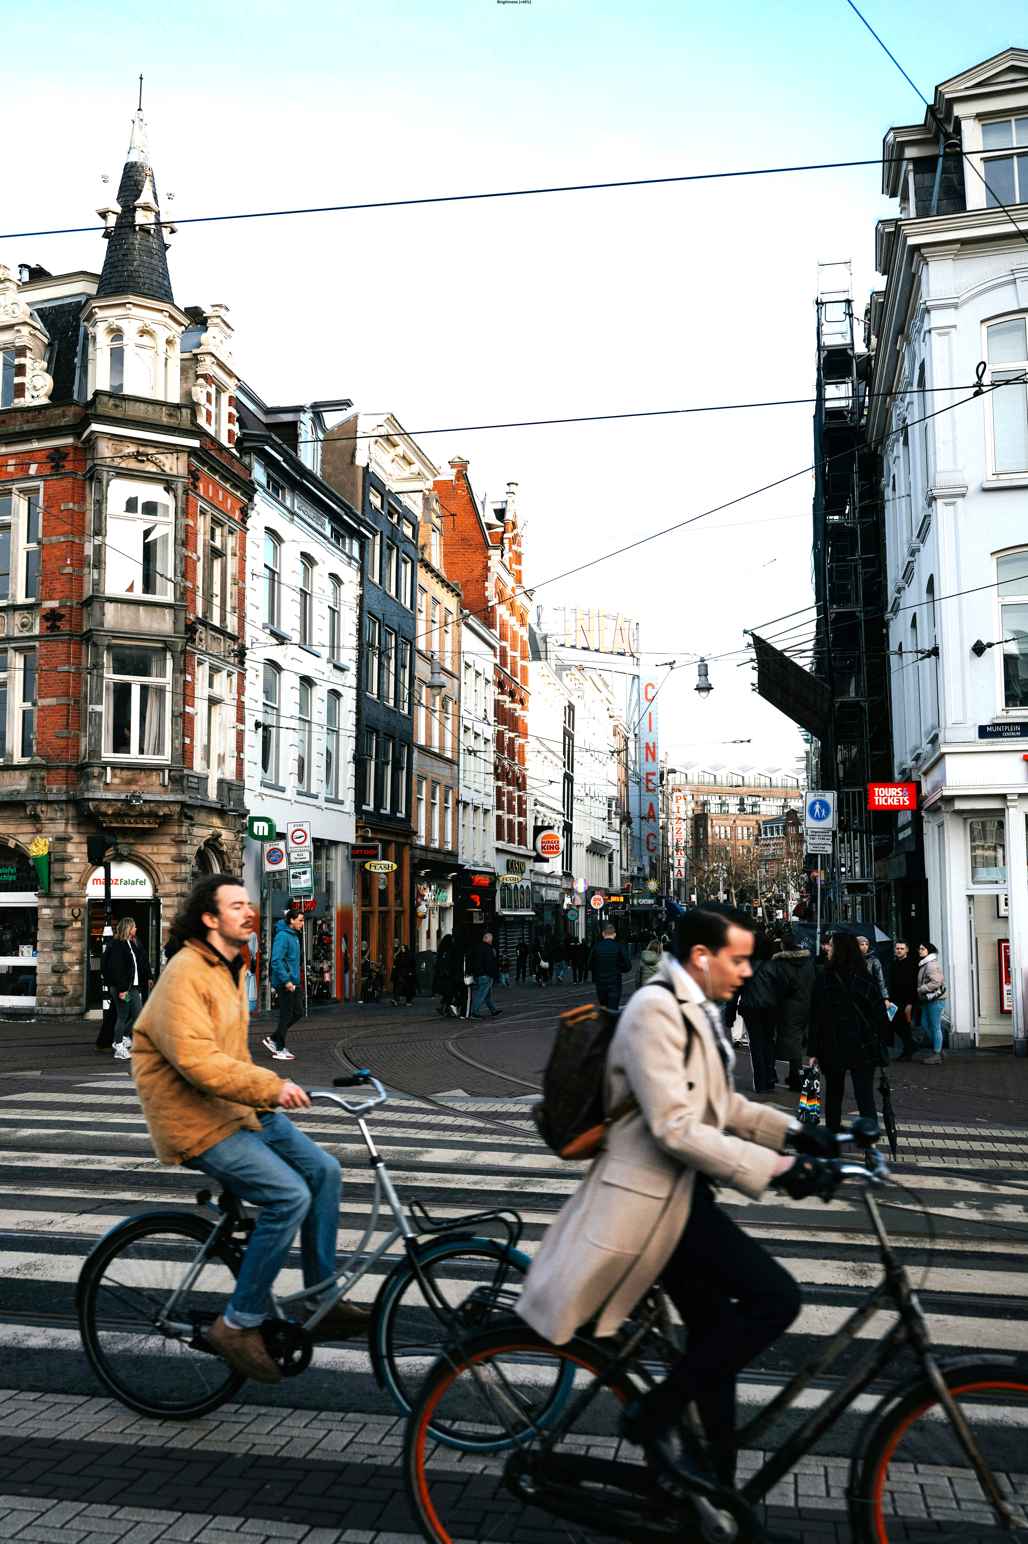
Brightness Effect
Section titled “Brightness Effect”Adjusts the brightness of an image.
set {_effect} to brightness effect with factor 1.5set {_img} to {_img} with effect {_effect}The factor parameter:
- Values greater than 1.0 increase brightness
- Values less than 1.0 decrease brightness
- A factor of 1.0 maintains the original brightness
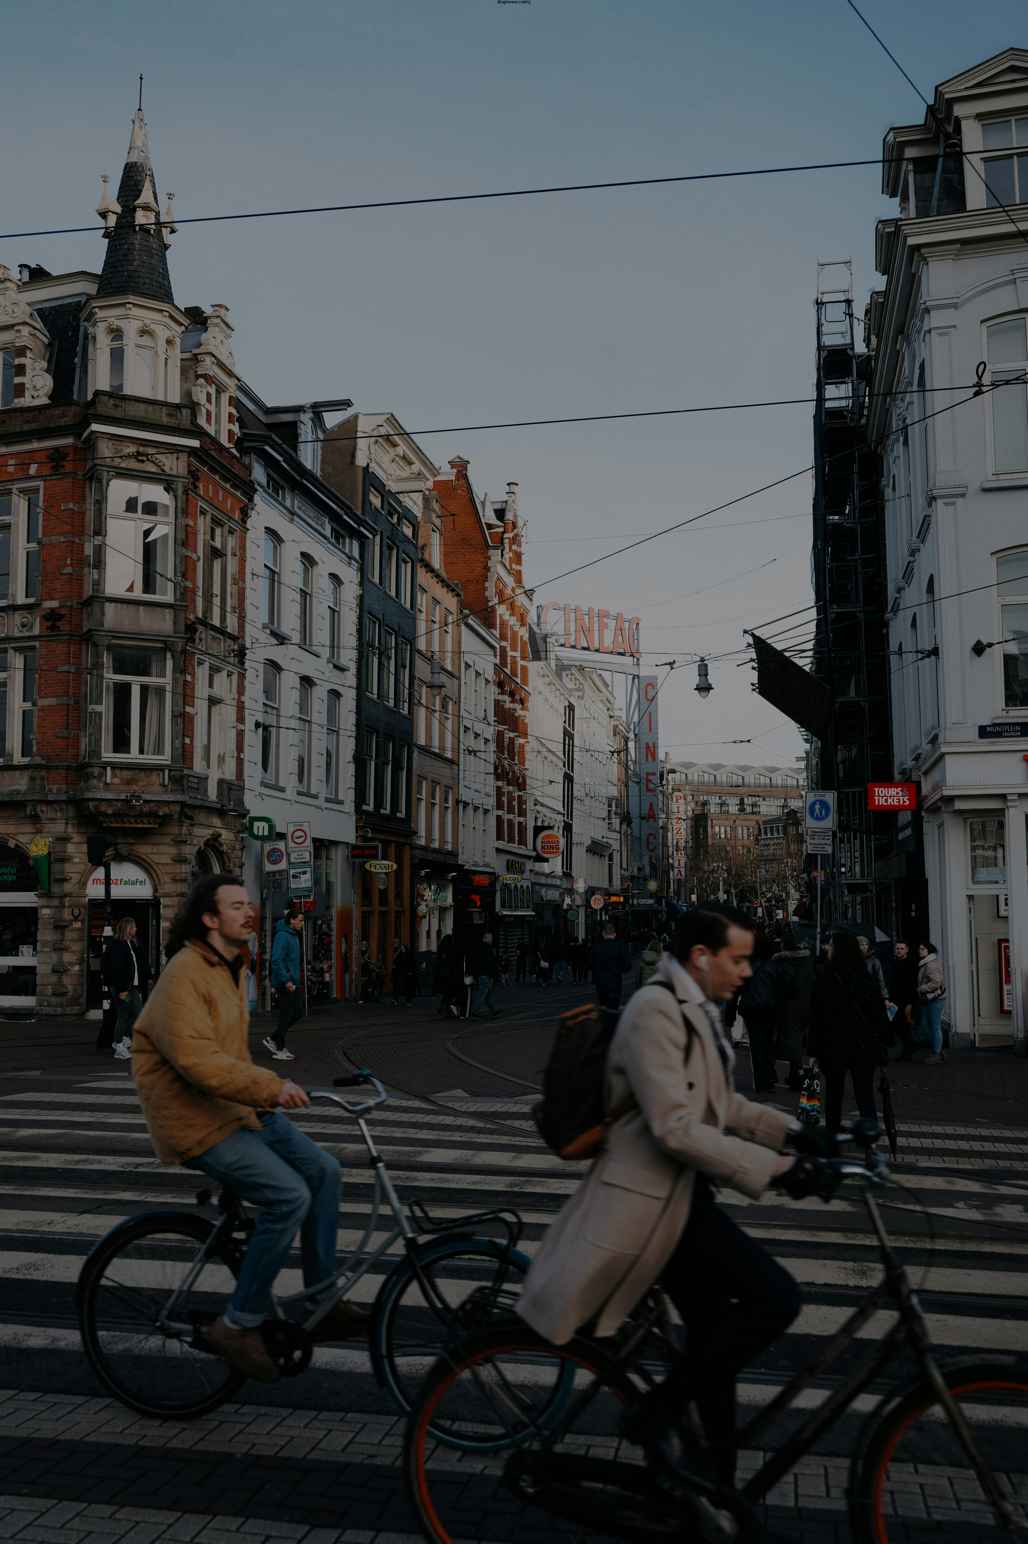
Contrast Effect
Section titled “Contrast Effect”Adjusts the contrast of an image.
set {_effect} to contrast effect with factor 1.5set {_img} to {_img} with effect {_effect}The factor parameter:
- Values greater than 1.0 increase contrast
- Values less than 1.0 decrease contrast
- A factor of 1.0 maintains the original contrast
Grayscale Effect
Section titled “Grayscale Effect”Converts an image to grayscale (black and white).
set {_effect} to grayscale effect with intensity 0.8set {_img} to {_img} with effect {_effect}The intensity parameter (0.0 to 1.0) controls how much of the original color is removed:
- 1.0 creates a fully grayscale image
- 0.0 leaves the image unchanged
- Values in between create a partial grayscale effect

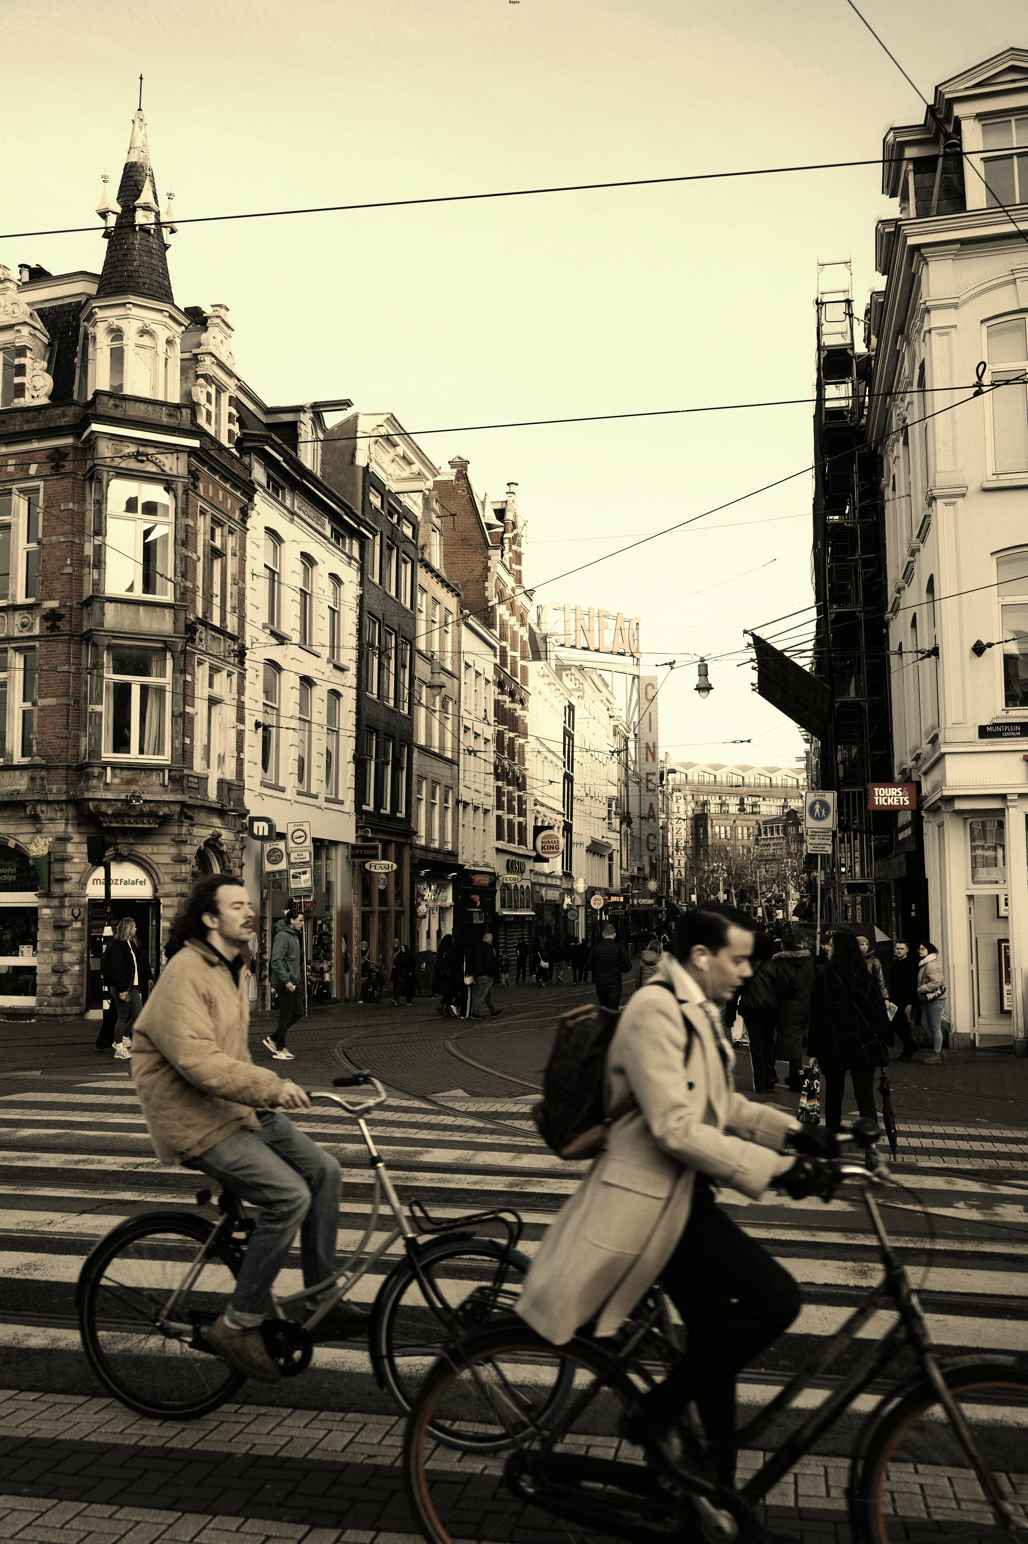
Sepia Effect
Section titled “Sepia Effect”Applies a warm brown tone to the image, creating a vintage or aged look.
set {_effect} to sepia effect with intensity 0.7set {_img} to {_img} with effect {_effect}The intensity parameter (0.0 to 1.0) controls the strength of the sepia effect.
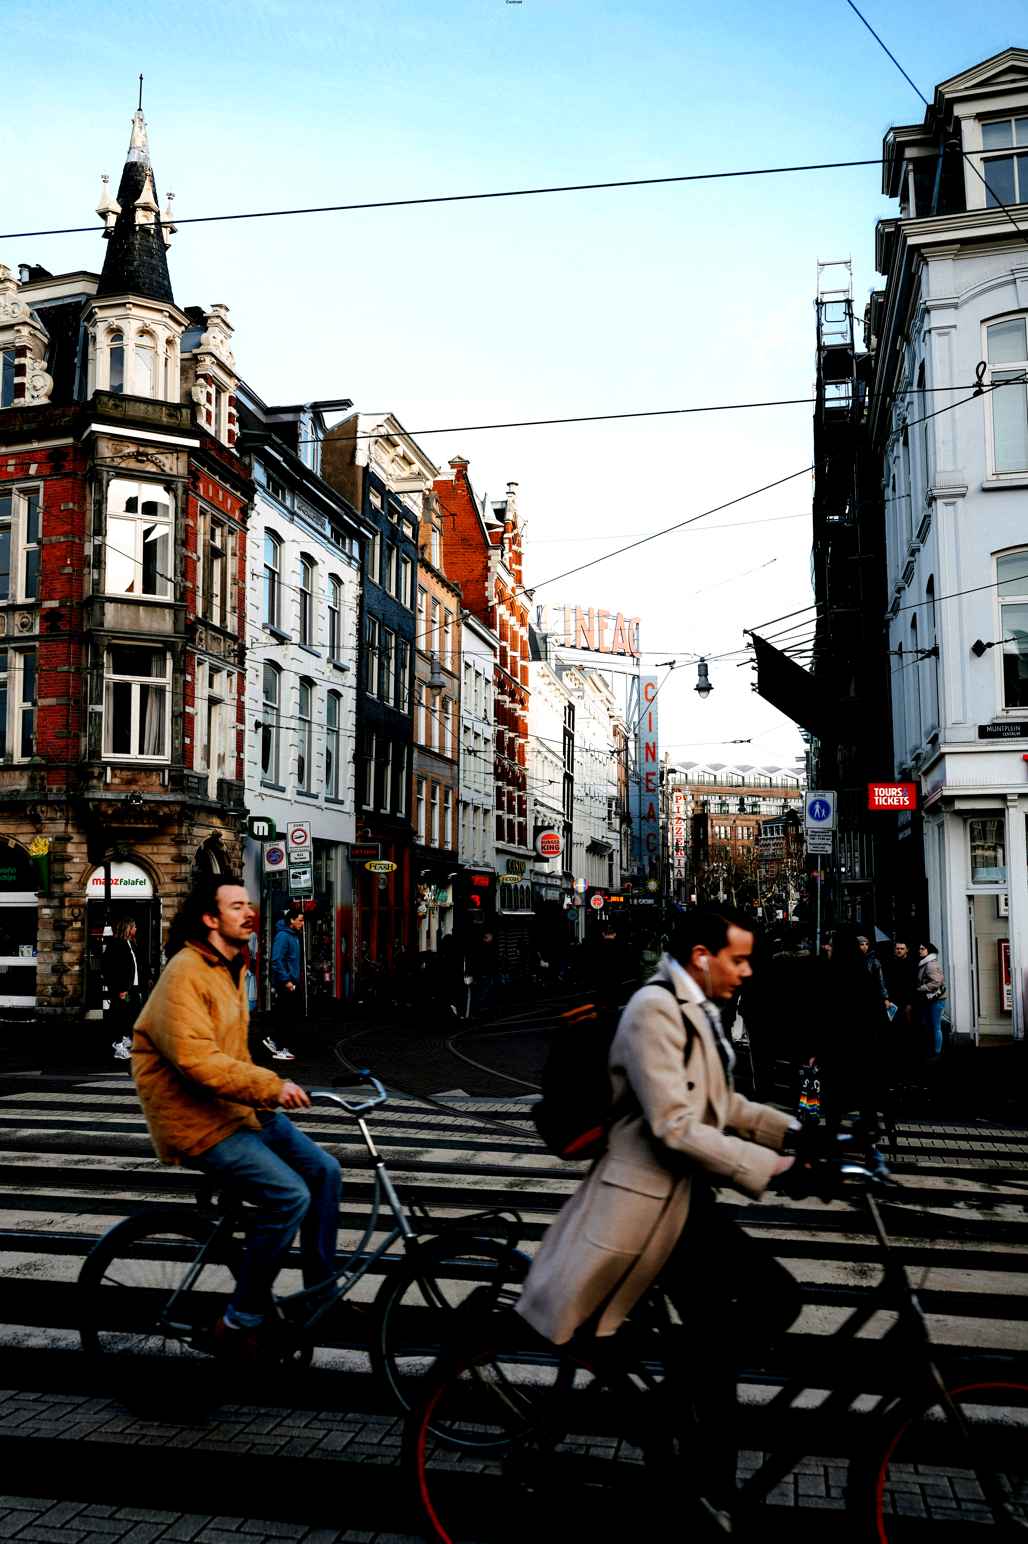
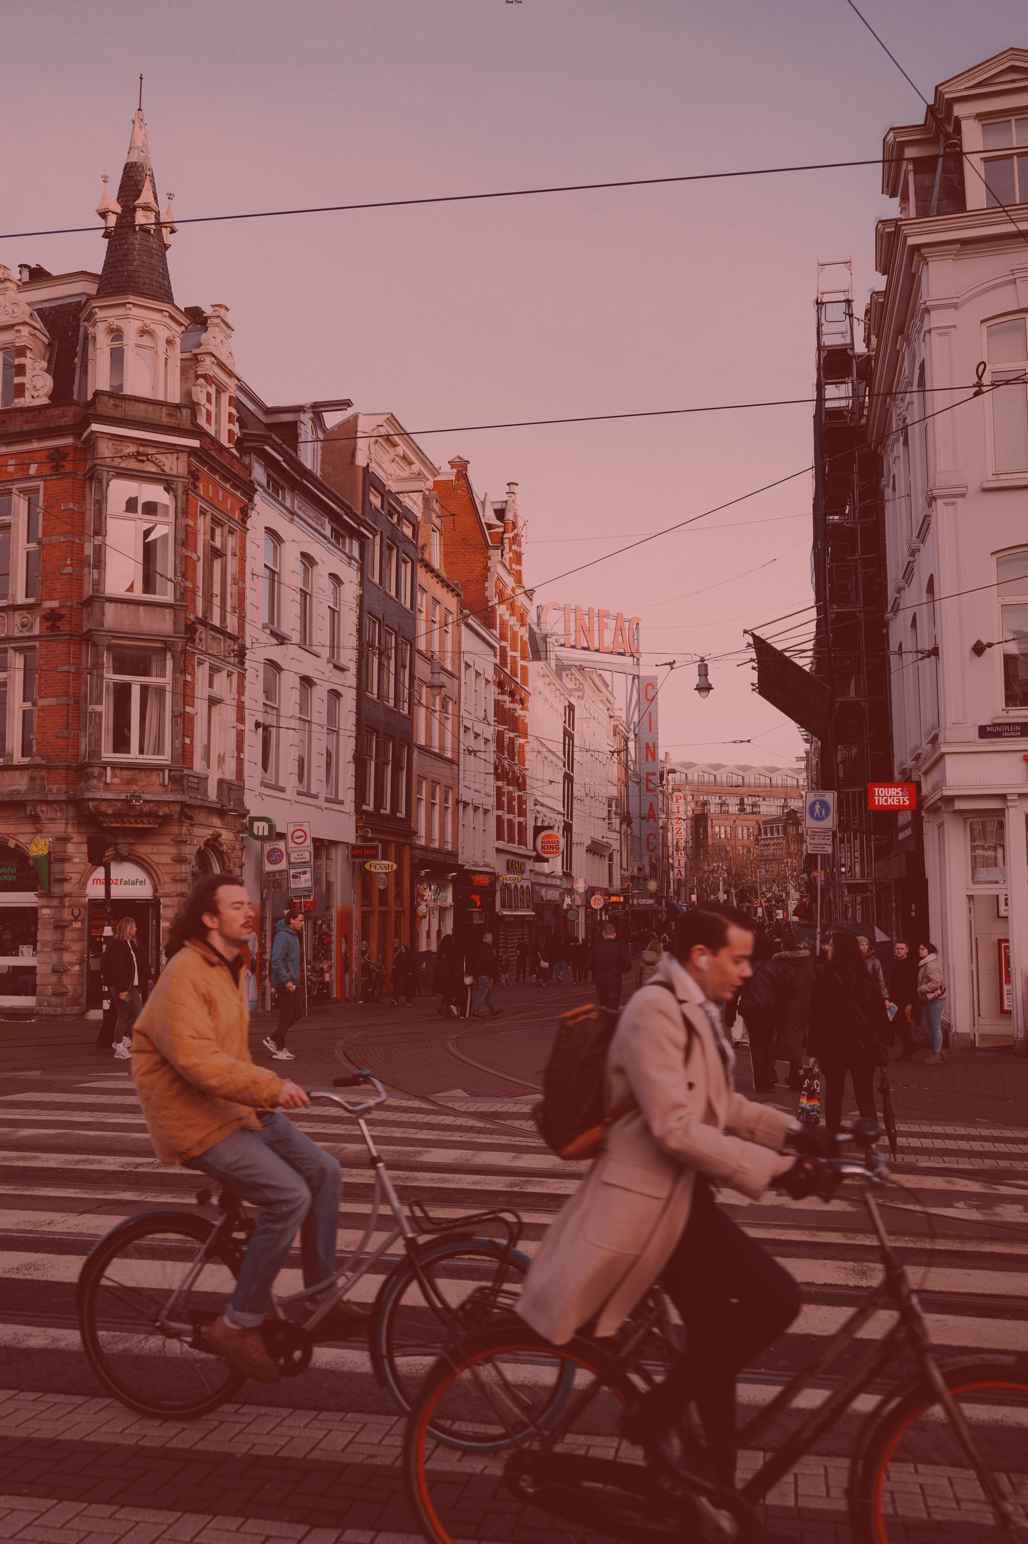
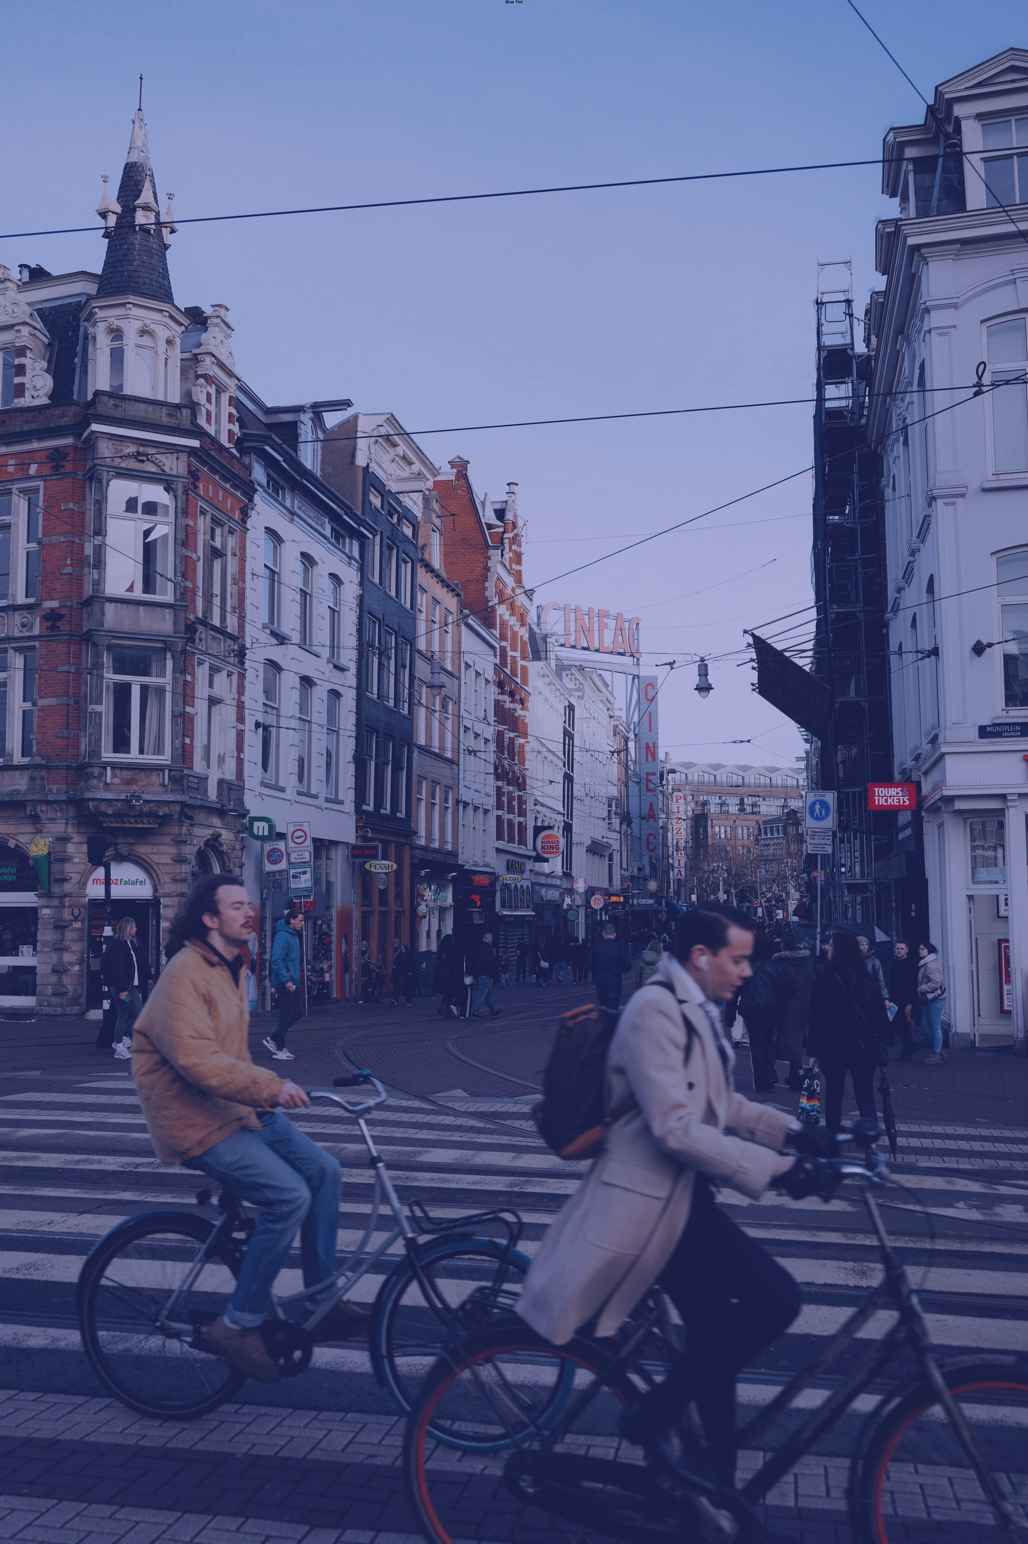
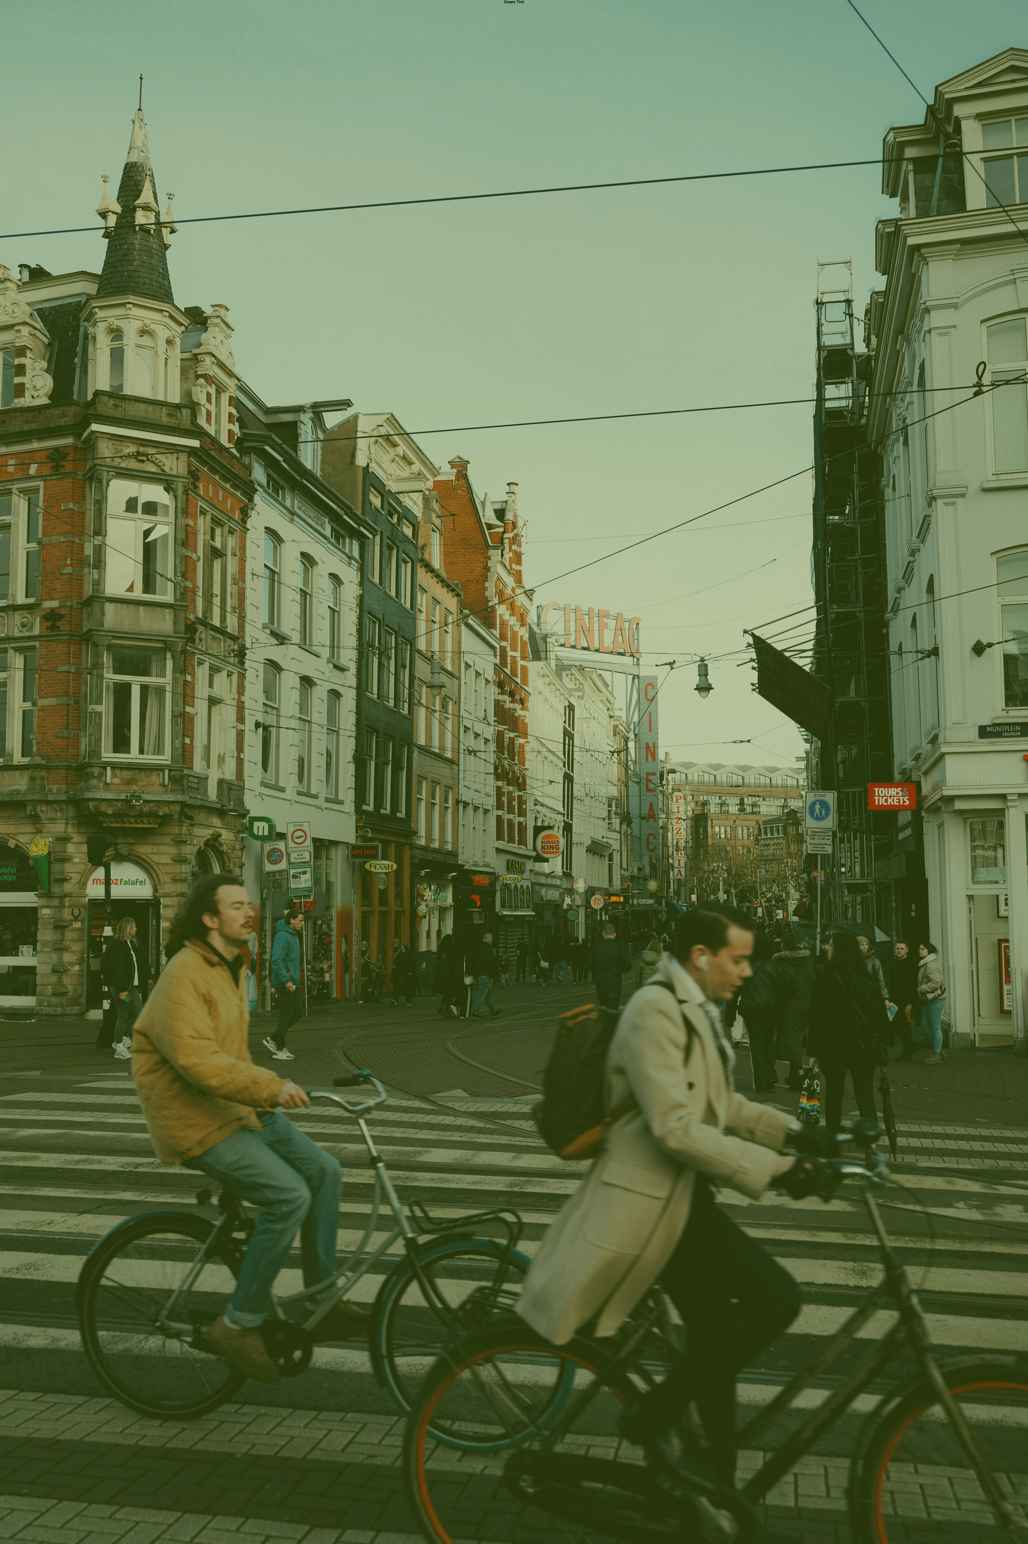
Color Tint Effect
Section titled “Color Tint Effect”Applies a color tint to the image.
set {_effect} to color tint effect with color red and intensity 0.3set {_img} to {_img} with effect {_effect}Parameters:
color: The color to apply as a tint (can be a Skript color or RGB value)intensity: How strongly the color is applied (0.0 to 1.0)
Invert Effect
Section titled “Invert Effect”Inverts the colors of the image, creating a negative-like effect.
set {_effect} to invert effect with intensity 0.8set {_img} to {_img} with effect {_effect}The intensity parameter controls how strongly the inversion is applied.
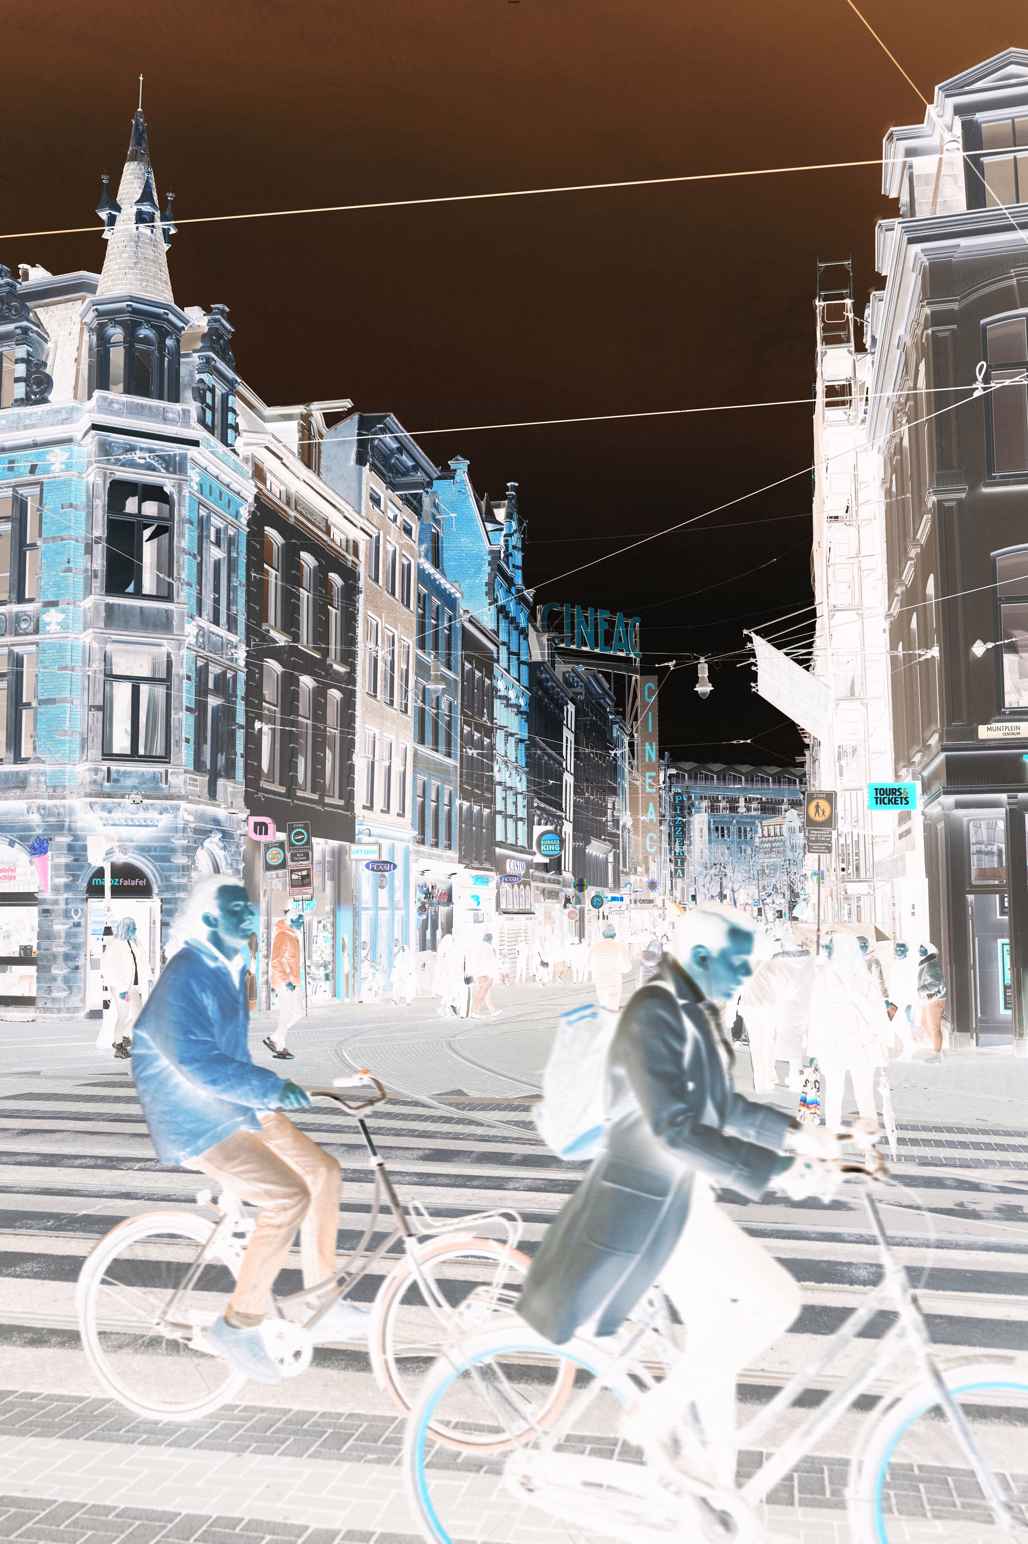
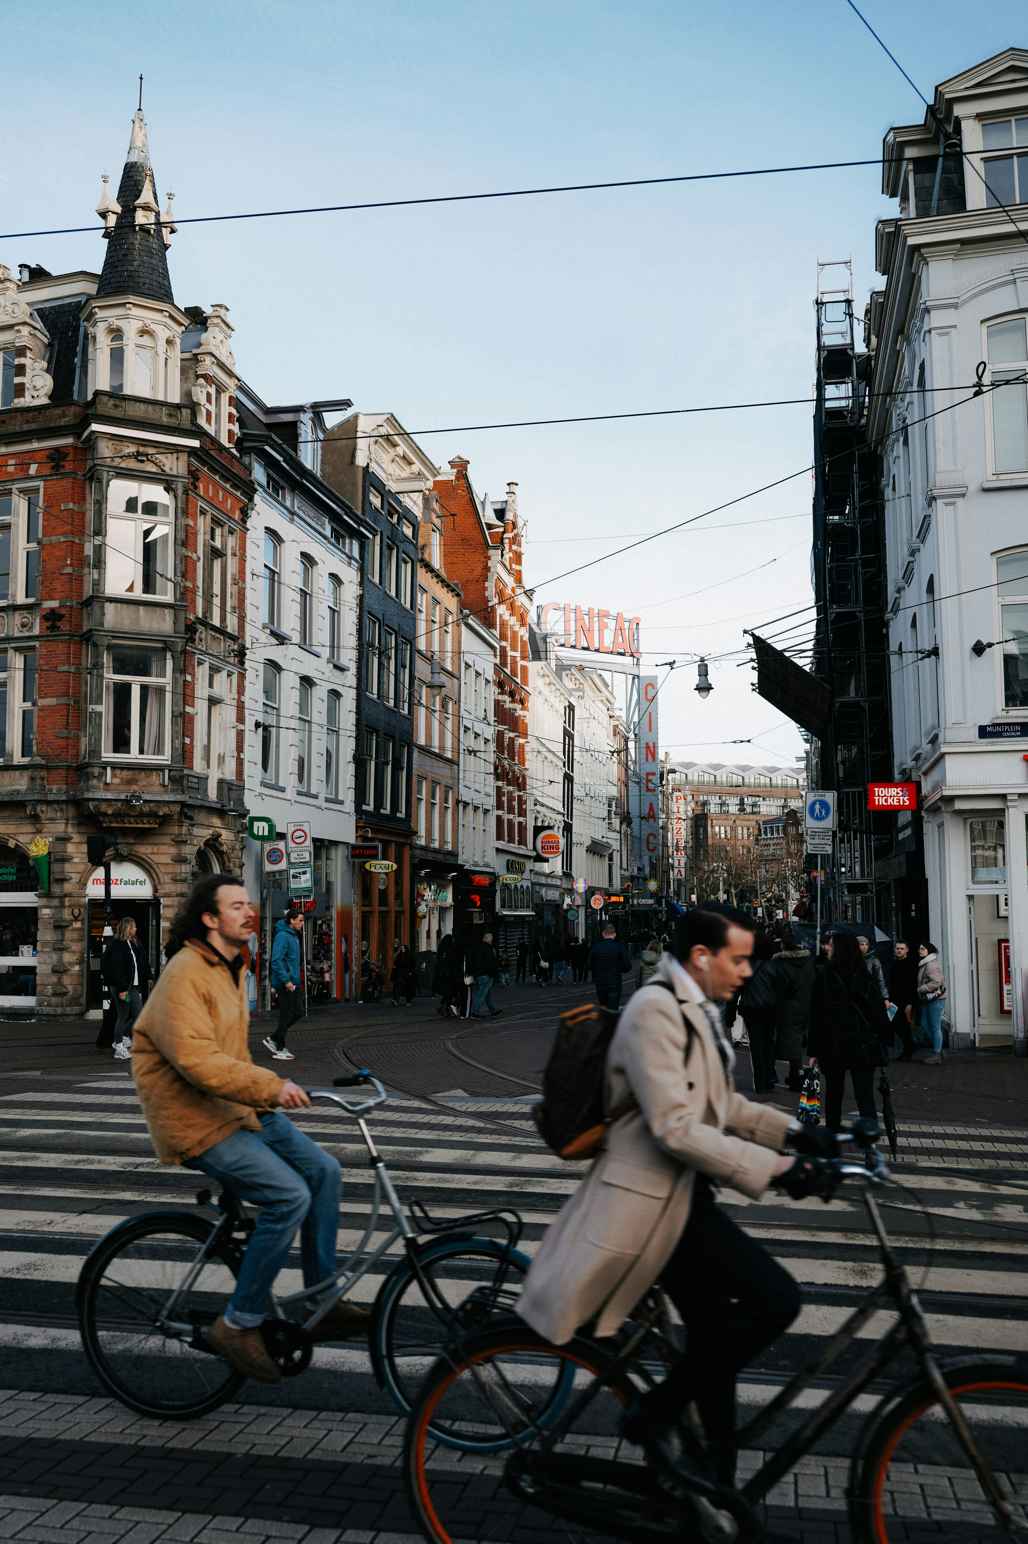
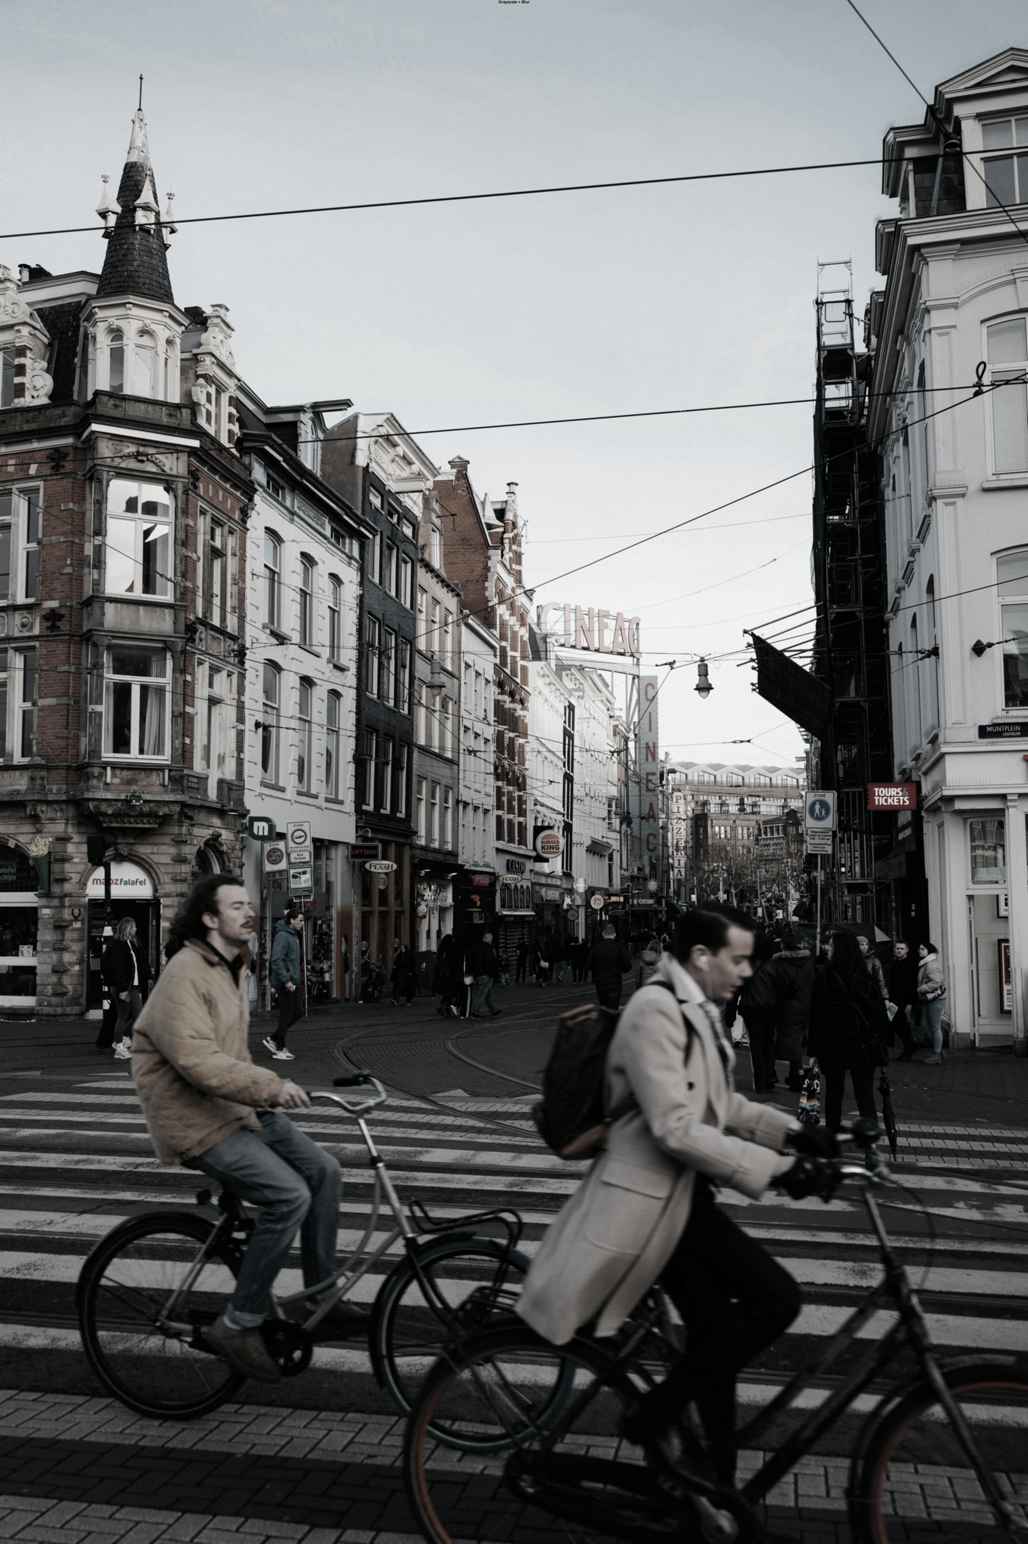
Pixelate Effect
Section titled “Pixelate Effect”Creates a blocky, pixelated appearance by reducing image detail.
set {_effect} to pixelate effect with pixel size 8set {_img} to {_img} with effect {_effect}The pixel size parameter determines the size of the “pixels” created. Larger values create a more pronounced pixelation effect.
![]()
Composite Effect
Section titled “Composite Effect”Combines multiple effects into a single operation, applied in sequence.
set {_grayscale} to grayscale effect with intensity 0.7set {_blur} to blur effect with radius 3set {_composite} to composite effect with effects {_grayscale}, {_blur}set {_img} to {_img} with effect {_composite}
Examples
Section titled “Examples”Here are some practical examples of using image effects:
Creating a Vintage Photo Effect
Section titled “Creating a Vintage Photo Effect”# Load the imageset {_img} to image from file "path/to/image.jpg"
# Create the vintage effectset {_sepia} to sepia effect with intensity 0.8set {_vignette} to color tint effect with color black and intensity 0.2set {_contrast} to contrast effect with factor 1.2
# Apply the effectsset {_img} to {_img} with effects {_sepia} and {_contrast} and {_vignette}
# Save the resultsave image {_img} to "path/to/vintage_image.jpg"Creating a Dreamy, Soft Effect
Section titled “Creating a Dreamy, Soft Effect”# Load the imageset {_img} to image from file "path/to/image.jpg"
# Create the dreamy effectset {_brightness} to brightness effect with factor 1.1set {_blur} to blur effect with radius 2set {_tint} to color tint effect with color (color from rgb 150, 180, 255) and intensity 0.15
# Apply the effectsset {_img} to {_img} with effect {_brightness}set {_img} to {_img} with effect {_blur}set {_img} to {_img} with effect {_tint}
# Save the resultsave image {_img} to "path/to/dreamy_image.jpg"Creating a High-Contrast Black and White Image
Section titled “Creating a High-Contrast Black and White Image”# Load the imageset {_img} to image from file "path/to/image.jpg"
# Create the high-contrast B&W effectset {_grayscale} to grayscale effect with intensity 1.0set {_contrast} to contrast effect with factor 1.5
# Apply the effects (using await for performance)await set {_img} to {_img} with effect {_grayscale}await set {_img} to {_img} with effect {_contrast}
# Save the resultsave image {_img} to "path/to/high_contrast_bw.jpg"Creating a “Glitch” Effect
Section titled “Creating a “Glitch” Effect”# Load the imageset {_img} to image from file "path/to/image.jpg"
# Create the glitch effect componentsset {_pixelate} to pixelate effect with pixel size 3set {_contrast} to contrast effect with factor 1.3set {_invert} to invert effect with intensity 0.3
# Apply the effectsawait set {_img} to {_img} with effects {_pixelate} and {_contrast} and {_invert}
# Save the resultsave image {_img} to "path/to/glitch_image.jpg"Tips and Best Practices
Section titled “Tips and Best Practices”-
Performance Management:
- Use
awaitbefore effect operations for large images when DiSky is installed - Apply multiple effects at once using composite effects when possible
- Consider downsizing large images before applying complex effects
- Use
-
Effects Sequencing:
- The order of effects matters! Applying a blur after a color effect will give different results than doing it in reverse
- Experiment with different sequences to achieve the desired look
-
Intensity Control:
- For most effects, using subtle intensity values (0.3-0.7) often gives more pleasing results than extreme values
- You can always apply the same effect multiple times to gradually build up the desired strength